TV Mounting
Step-by-Step Guide to Professional TV Installation at Home
April 17, 2026

A professional tv installation is more than just hanging a screen on the wall. It is the combination of secure mounting, clean cable routing, correct device connections, and picture calibration that turns a television into a finished entertainment system.
When all of those pieces come together, you get a setup that looks intentional, performs well, and stays reliable for years.
Most homeowners focus on the mounting step alone and treat everything else as an afterthought. That is how you end up with a straight TV on the wall but cables dangling behind it, a soundbar that is out of sync, or a picture that looks worse than it did on the showroom floor. A complete tv installation addresses every element so nothing gets overlooked.
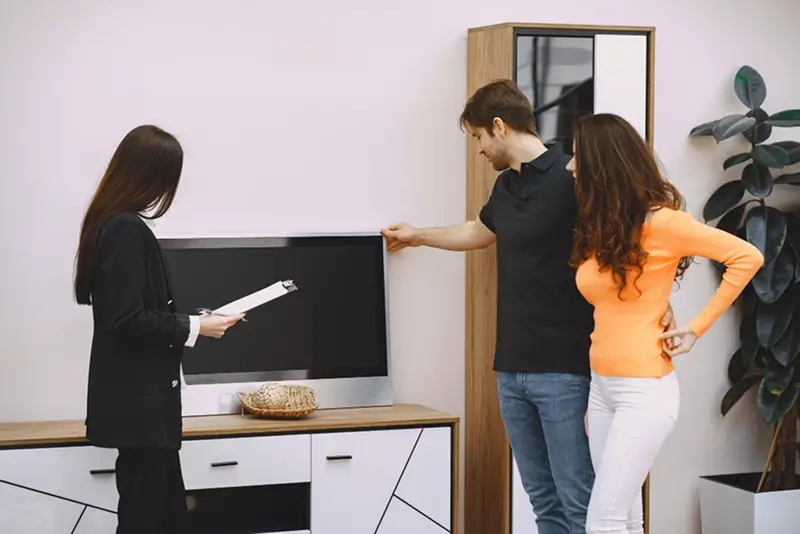
Planning Before You Start
Every successful tv installation begins with a plan. Jumping straight to drilling creates problems that are harder to fix later.
Start with the room. Identify your primary seating position and note the lighting conditions. Windows opposite the screen create glare. Overhead lights reflect off the panel. These factors influence where the TV goes and whether you need a tilting mount to angle away from light sources.
Choose the wall. Standard drywall over wood studs is the easiest surface to mount on. Plaster, brick, and concrete require specialized hardware and tools. Knowing your wall type determines the anchoring method, the tools you need, and whether the project is within DIY range.
Decide on the mount. Fixed mounts keep the lowest profile. Tilting mounts compensate for higher placements. Full-motion mounts offer flexibility for rooms where you watch from multiple positions.
Your choice affects the installation complexity, the load on the wall, and how cables route behind the screen. Comparing mount types before purchasing prevents buying the wrong bracket for your room.
Plan your cable path. Identify where each source device sits relative to the TV. Map the route for HDMI, power, and any network cables. Knowing the path upfront lets you buy the correct cable lengths and determine whether in-wall routing is feasible.
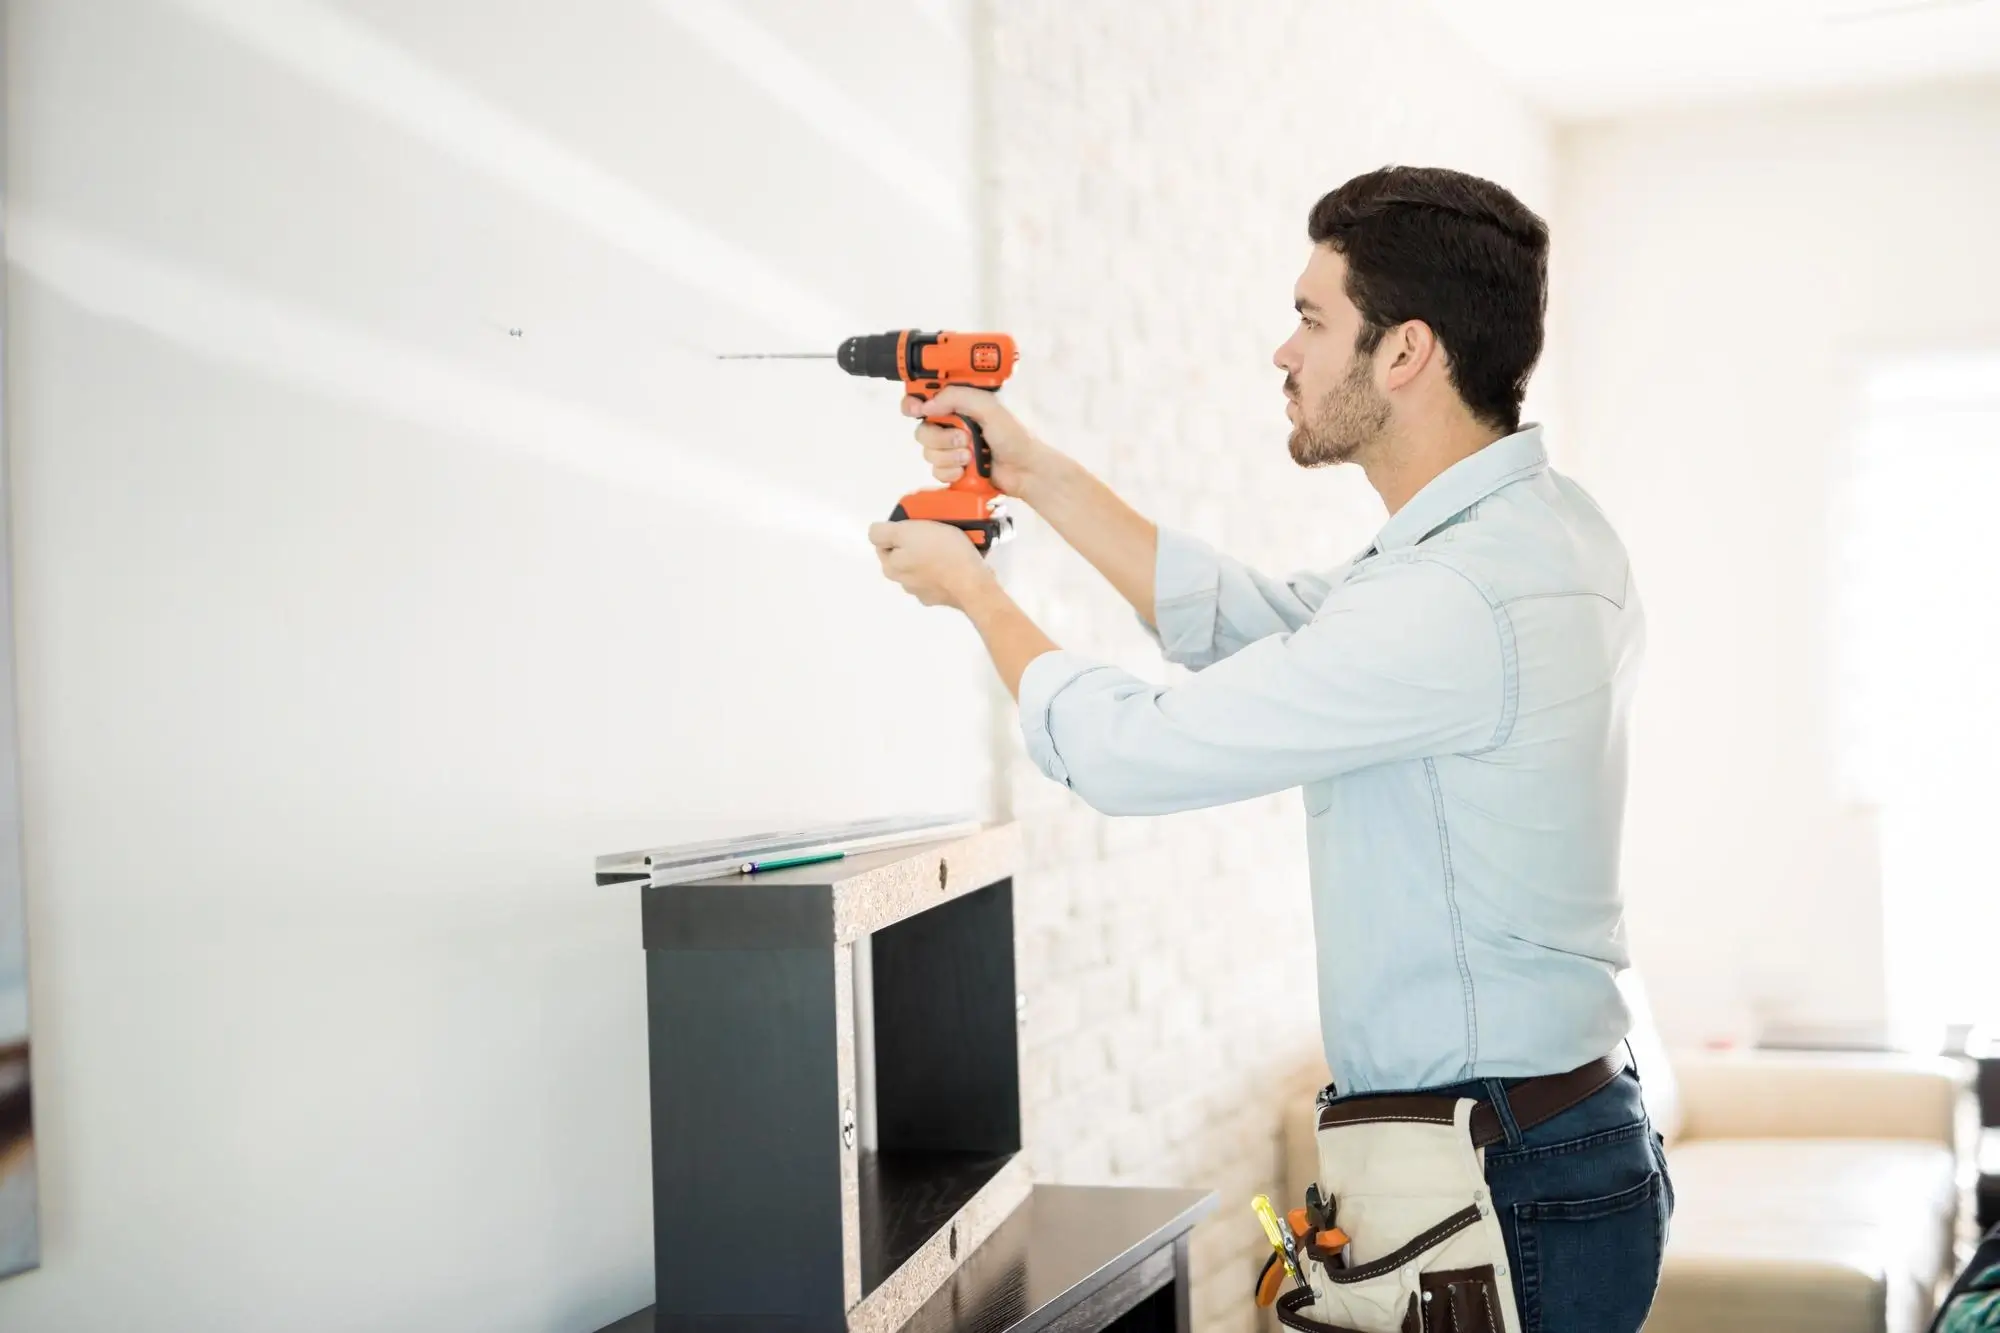
Mounting the TV
The physical mounting is the step most people are familiar with. It involves finding studs, drilling pilot holes, attaching the bracket, and hanging the screen.
Use a stud finder to locate at least two studs behind the wall at your planned mounting height. Mark the centers. Hold the bracket against the wall, level it, and mark the bolt holes. Drill pilot holes using a bit slightly smaller than your lag bolts. For quarter-inch bolts, a three-sixteenths-inch bit works well. Drive the bolts through the bracket into the studs until the bracket sits flat and firm.
Height matters. The center of the screen should sit at seated eye level from your primary viewing position, typically 40 to 42 inches from the floor in a living room.
Bedrooms and above-fireplace placements adjust higher with tilting mounts to compensate. Getting the viewing distance right alongside proper height makes the setup comfortable for extended sessions.
Attach the VESA arms to the back of the TV, then hang the TV on the bracket with a second person helping. Test that the mount is secure, the TV is level, and any tilt or swivel adjustments feel smooth.
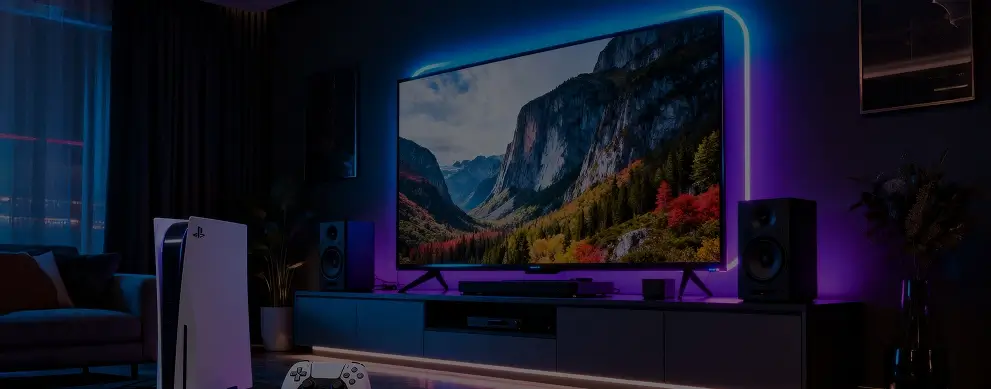
Connecting Your Devices
A tv installation is not complete until every device is connected and working. This step is where many DIY setups stall.
Connect your primary source devices to the TV using HDMI. Streaming boxes, game consoles, and cable boxes each get their own input. Label each input in the TV's settings menu so switching between sources is intuitive.
If you use a soundbar, connect it to the TV's HDMI ARC or eARC port. This sends audio from the TV to the soundbar through a single cable. Make sure the TV's audio output is set to external speakers so sound routes correctly. If you use an AV receiver with surround speakers, run all source devices into the receiver and connect a single HDMI output from the receiver to the TV.
For network connectivity, a wired ethernet connection provides more stable bandwidth than Wi-Fi for streaming in high resolution. If your home has structured wiring that reaches the entertainment area, plugging in directly is worth the effort.
Turn on each device and verify that video and audio work from every source. Test input switching to confirm each HDMI port delivers a clean signal. This catches loose connections and incorrect settings before you button everything up.
Cable Concealment
Visible cables are what separate a finished tv installation from one that looks like a work in progress. Clean cable management takes the result from functional to polished.
The best approach is routing low-voltage cables inside the wall. Cut a small hole behind the TV and another near the floor or behind your media console. Fish HDMI and other signal cables through the cavity. These cables must carry a CL2 or CL3 fire rating for in-wall use. Standard cables with PVC jackets are not rated and should not be installed behind drywall.
Power requires its own solution. Standard power cords and extension cords are never permitted inside walls. A recessed outlet installed behind the TV or a code-compliant in-wall power relocation kit keeps everything up to code and lets the TV hang flat against the wall.
If in-wall routing is not an option, paintable surface raceways hide cables behind a slim channel that blends with the wall. The full range of methods to hide TV wires gives you options that match your space and skill level.
Picture and Audio Calibration
A tv installation that stops at mounting and connecting misses the final step that makes the picture and sound actually match your room.
Start with the picture mode. Switch from the default Vivid or Standard preset to Cinema or Movie mode. This uses a warmer, more accurate color temperature that matches how content is produced. From there, adjust brightness so dark areas show detail without looking gray, and contrast so highlights stay textured without clipping to flat white.
Set sharpness to zero or near zero. The artificial edge enhancement most TVs apply at higher settings creates visible halos that make the picture look processed. Modern panels look cleaner with this turned off.
If you use a soundbar or receiver, check audio sync. External audio devices add processing time that can push sound out of sync with the picture. Most TVs and soundbars include an audio delay or lip sync adjustment in their settings. Dial it in using content with clear dialogue until words match lip movements.
Testing Everything Together
Before calling the job done, run through a complete test of the entire system.
Switch between every input and verify video and audio from each source. Check that the remote or universal remote controls all devices correctly. Play content that exercises different parts of the system, such as a dark movie scene for brightness and contrast, an action sequence for motion handling, and a music track for audio quality.
If anything is off, this is the moment to fix it. A loose HDMI connection, a misconfigured audio output, or an input that defaults to the wrong resolution is much easier to address now than after the cables are concealed and the tools are put away.
When to Hire a Professional
A straightforward tv installation on a standard stud wall with one or two source devices is manageable for most homeowners. But the project grows more complex with difficult wall types, multiple rooms, in-wall electrical work, or surround sound integration.
The team at UrbanOrbits handles complete tv installation projects across Los Angeles. From single-room bedroom setups to multi-device living room builds with full cable concealment and calibrated audio, professional mounting means every detail is handled in a single visit. A properly installed system looks clean, sounds right, and works reliably from the day it goes up.
Frequently asked questions
What Is Included in a Professional TV Installation?
A full professional tv installation typically includes wall mounting, bracket and hardware selection, cable concealment with code-compliant wiring, device connections, input configuration, and basic picture and audio calibration. Some services also include soundbar or receiver setup and universal remote programming.
How Long Does a Complete TV Installation Take?
A basic mount with cable concealment takes one to two hours. More complex setups involving multiple source devices, surround sound, or difficult wall materials can take two to four hours. Professional installers complete the work faster than DIY because they arrive with all tools and hardware ready.
Do I Need to Prepare Anything Before the Installer Arrives?
Have your TV unboxed and accessible. Know where you want it mounted and where your source devices will sit. Clear the wall area of furniture and artwork. If you have purchased your own mount, have it available with all included hardware. Confirm that your source devices and cables are on hand.
Can a TV Installation Include Soundbar Setup?
Yes. Most professional services connect and configure soundbars as part of the installation. This includes mounting the soundbar if applicable, connecting it through HDMI ARC or optical, and adjusting audio sync and output settings so sound and picture stay aligned.
Is Professional TV Installation Worth the Cost?
For a simple mount on a basic wall, handy homeowners can handle it. For anything involving cable concealment, difficult walls, electrical work, or multi-device integration, professional installation saves time, prevents mistakes, and delivers a finished result that looks and performs the way a home entertainment system should.